
Self directed Workshop
£155.00

This Contemplative Sculpture workshop is self-directed and you can work at your own pace.
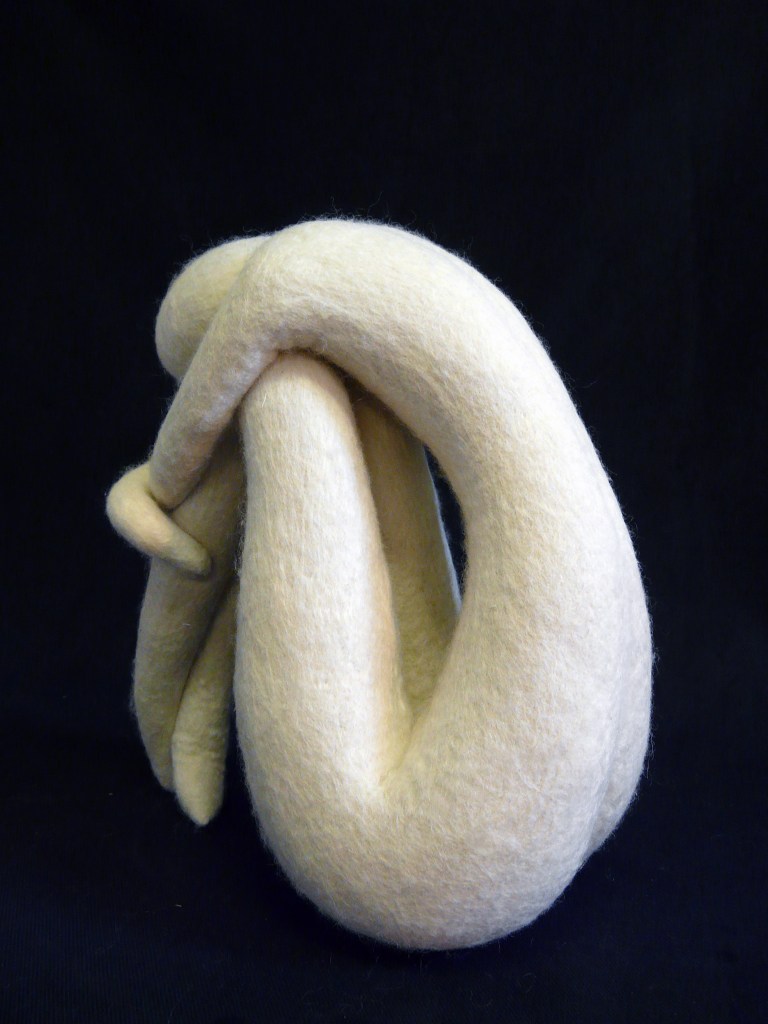
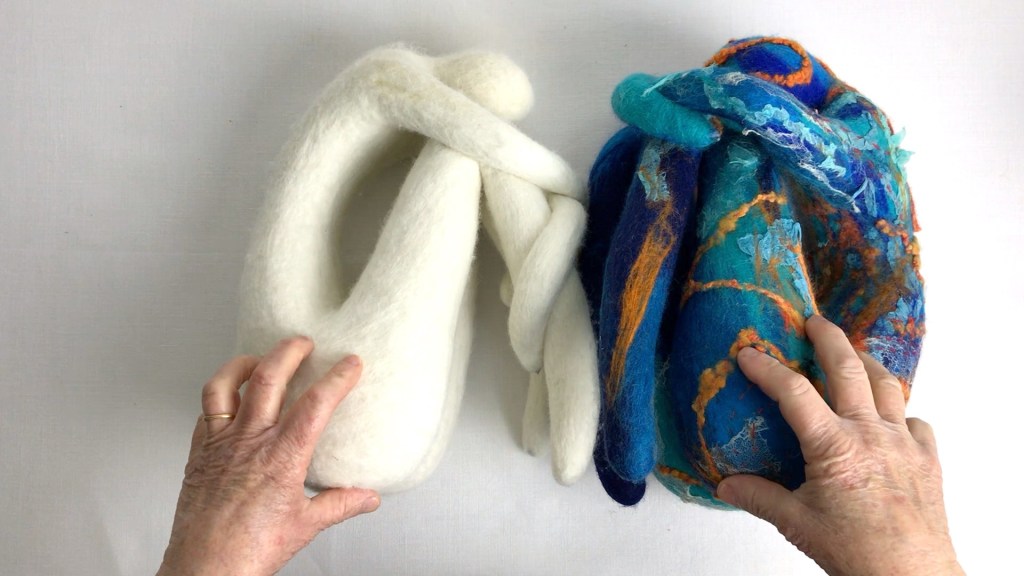
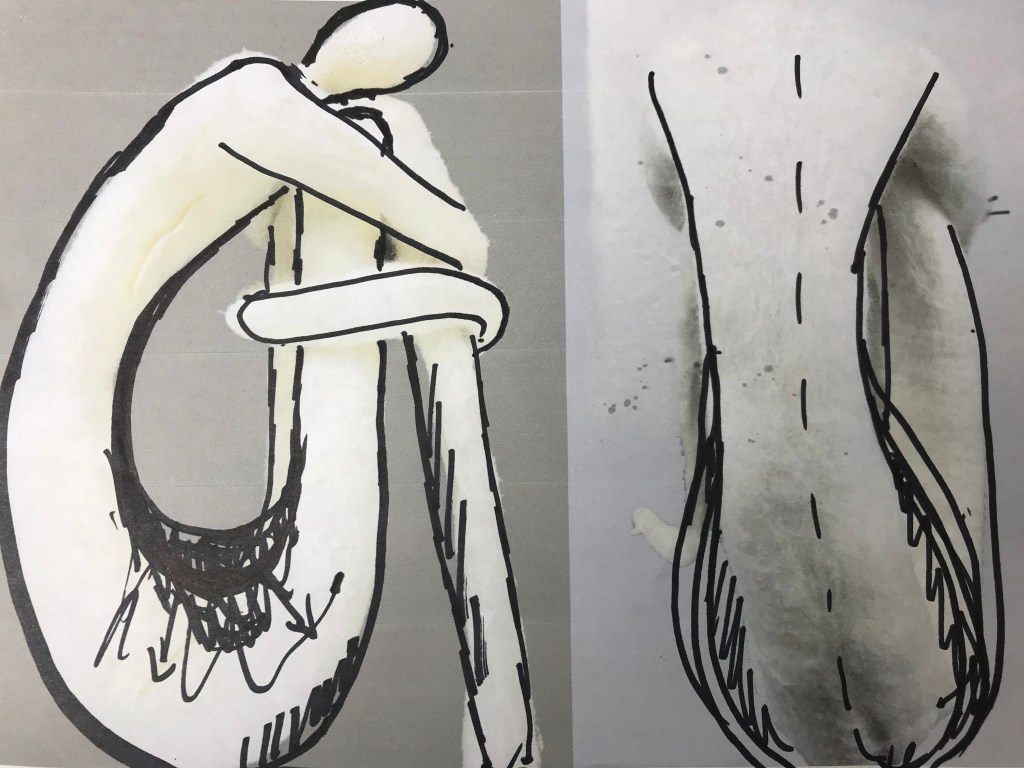
The Contemplative Figures are inspired by the work of Contemporary and Modern sculptors, such as Barbara Hepworth and Sir Henry Moore and others. You will have the opportunity to explore the work of these sculptors and, through a series of drawing exercises, develop own shapes.
The finished figure will measure about 16″/40cm – 20″/50cm in height, dependent on the shape and position.
This is an energetic process that involves manual shaping and felting, plus a sander and steamer to finish.
It is important to have some knowledge of wet felt making before beginning this course. It is challenging! You can sign up for my free introduction t felt making course first to learn the basic wet felting method.
The course is hosted on Ruzuku where you can work at your own pace.
There are over step-by-step 30 videos and during the Weekly Classroom you will watch me develop each stage of the process in person.
Each lesson has a range of activities to show you how to build your sculpture step-by-step. There are video instructions – you will follow me step-by-step , text and images and downloadable worksheets for each activity.
The Course Content
Welcome!
- Workspace and guide to the process
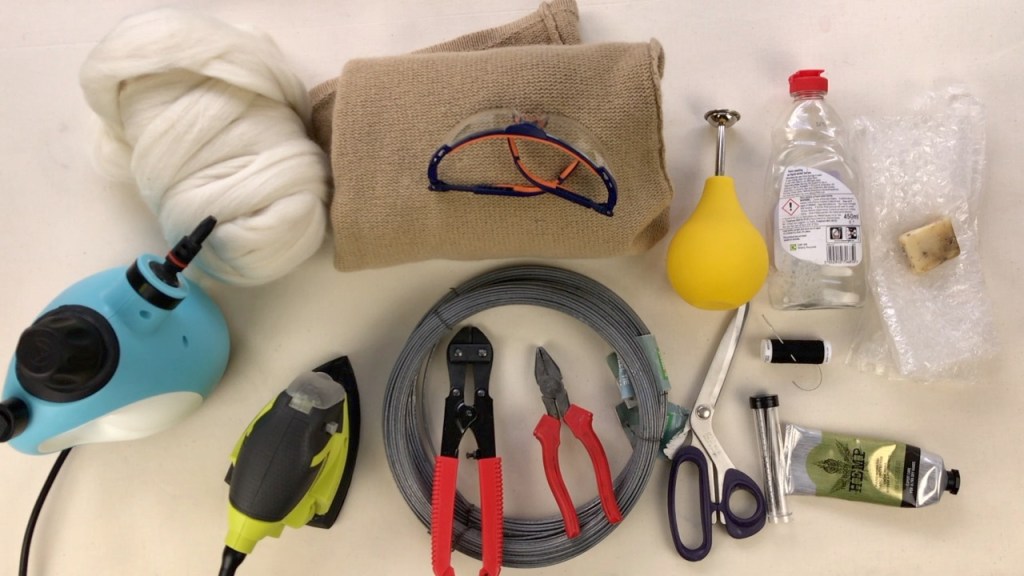
- Liquid olive oil soap recipe
- Materials and equipment for the introductory exercises.
- Materials and equipment to make the Contemplative sculpture
Lesson 1. – Modern Sculpture and Research
- The Human Body and Proportion
- Task 1. Looking at figurative sculpture and recording your research
- Task 2. Line drawing – simplifying body form
- Task 3. 2D paper modelling
- Task 4. Modelling with clay
Lesson 2. Making the skeleton
- Preparing to make the skeleton – helpful tips
- Part 1 – the head, shoulders, torso, back and legs
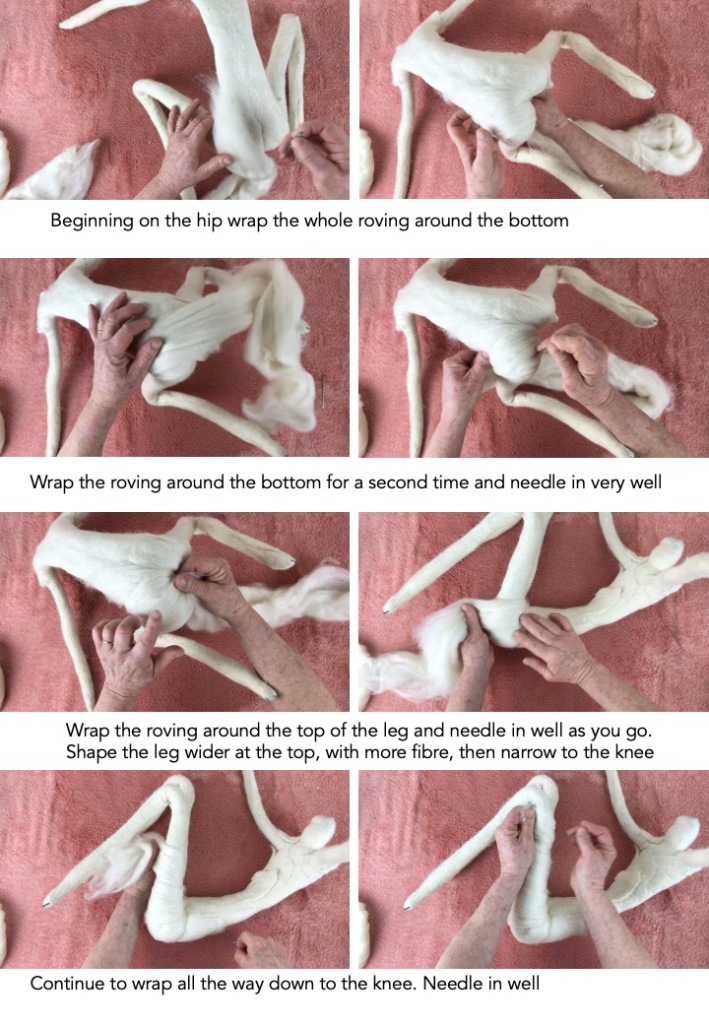
- Part 2 – the arms and hips
- Covering the wire with a layer of knitted fabric
Lesson 3. Musculature
– Base Layers. Laying the foundations of the sculpture
- The Fibre Lays
- Experimenting with poses
- 1. First base layer-part 1
- 2. First base layer – Part 2
- 3. Second base layers – Part 1
- 4. Second base layers – Part 2
- 5. Third base layers – Part 1
- 6. Third base layers – Part 2
- Preparing a sander for wet felting
- Tips for positioning the figure!
- 7. First base muscle layers to the back- Part 1
- 8. First base muscle layers to the back- Part 2
- 9. First base muscle layers to bottom and upper leg
- How to tame felt flaps
- Give your figure good rinse!
- Reviewing the overall shape
Lesson 4. Musculature 2
– Shaping and sculpting the figure
- 1. First shaping the back and arms
- 2. First Shaping hips and bottom
- 3. First shaping upper leg
- 4. Trimming the legs
- 5. First shaping lower leg and calves
- Stop: review the overall shape
- 6. Final shaping – hips and legs
- 7. Final shaping – head, shoulders and arms and anything else!!
- How to make heels
- How to make mitten hands
- Rinse the figure
Lesson 5. The skin and final finishing
- 1. Adding skin layers to the head
- 2. Adding skin layers to the front torso and arms
- 3. Adding skin layers to the legs
- 4. Adding skin layers to the back and hips – part 1
- 5. Adding skin layers to the back and hips – part 2
- 6. Final fulling – Part 1
- 7. Final fulling – Part 2
- 8. Final rinse
Extra:
- Measurements for a smaller figure
- Enlarging a figure